Creating an event on Entry Ninja is a straightforward process that allows event organizers to efficiently list and manage their trail run or MTB events. Follow these steps to create your event:
1. Access Your Organizer Dashboard:
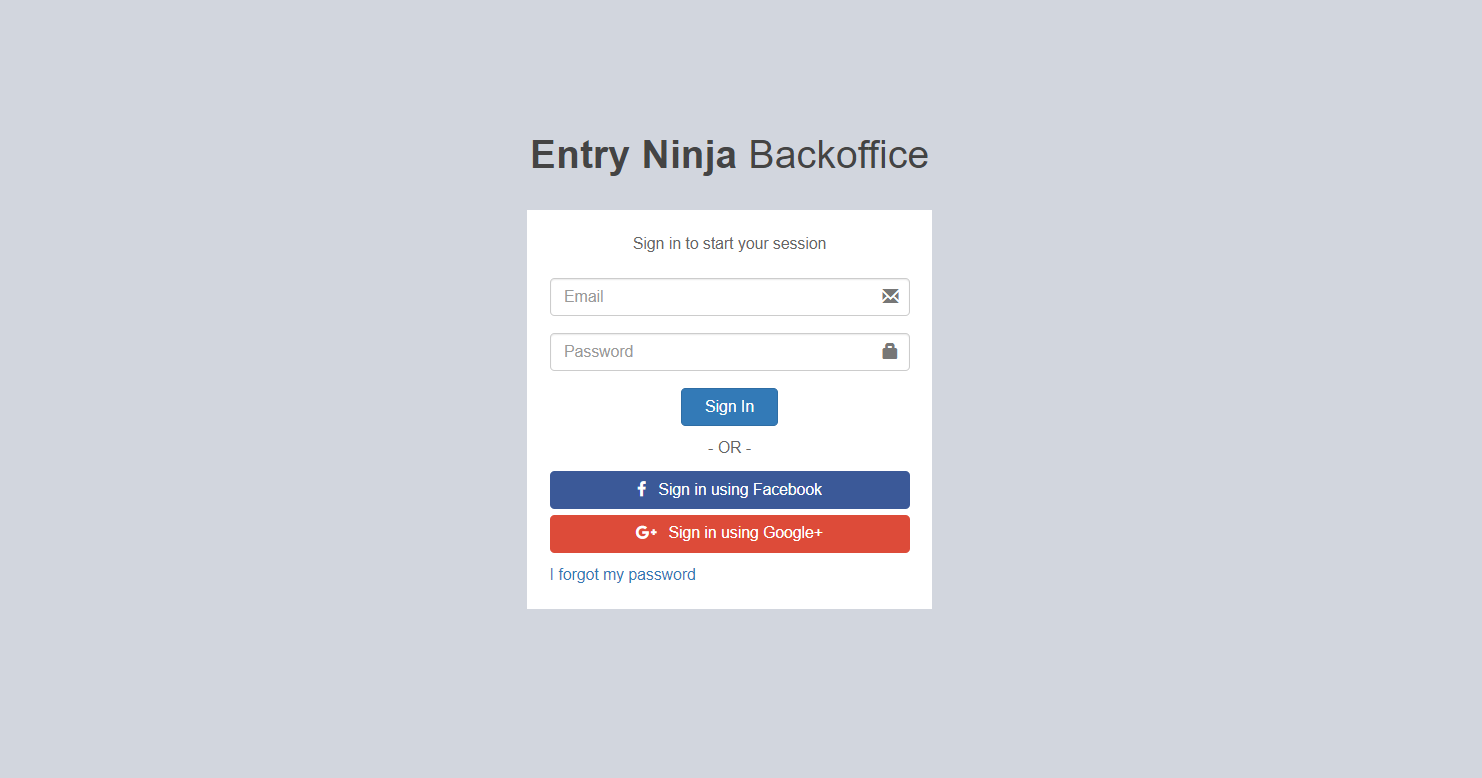
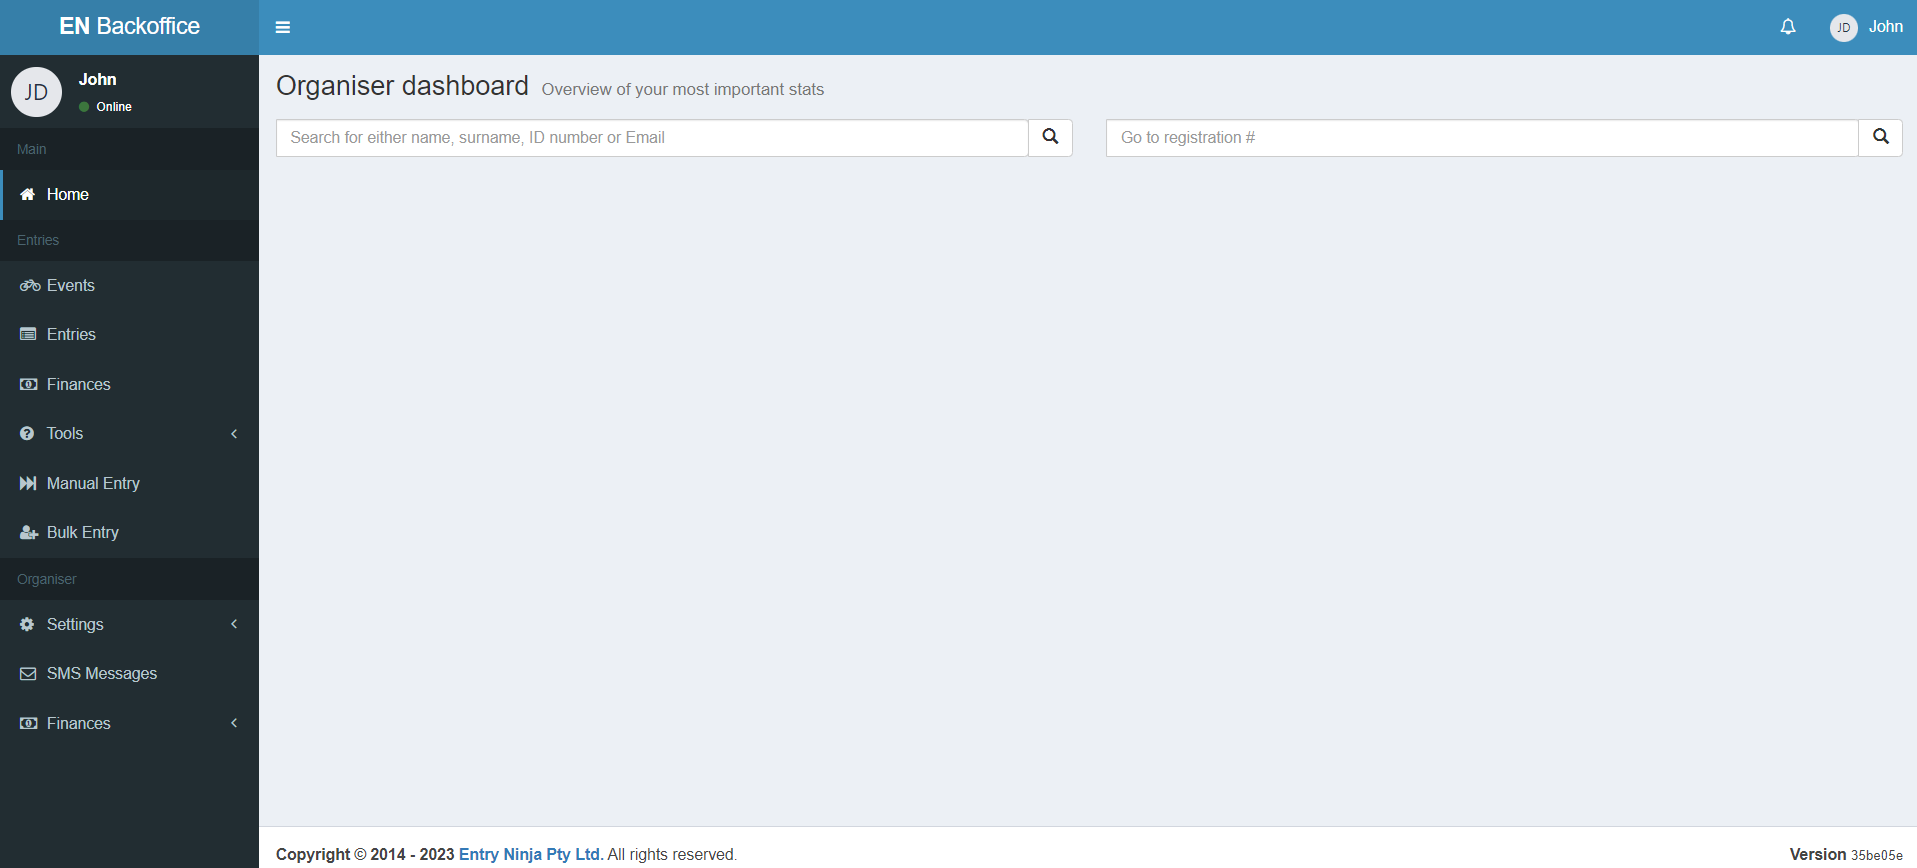
- Log in to your Entry Ninja account.
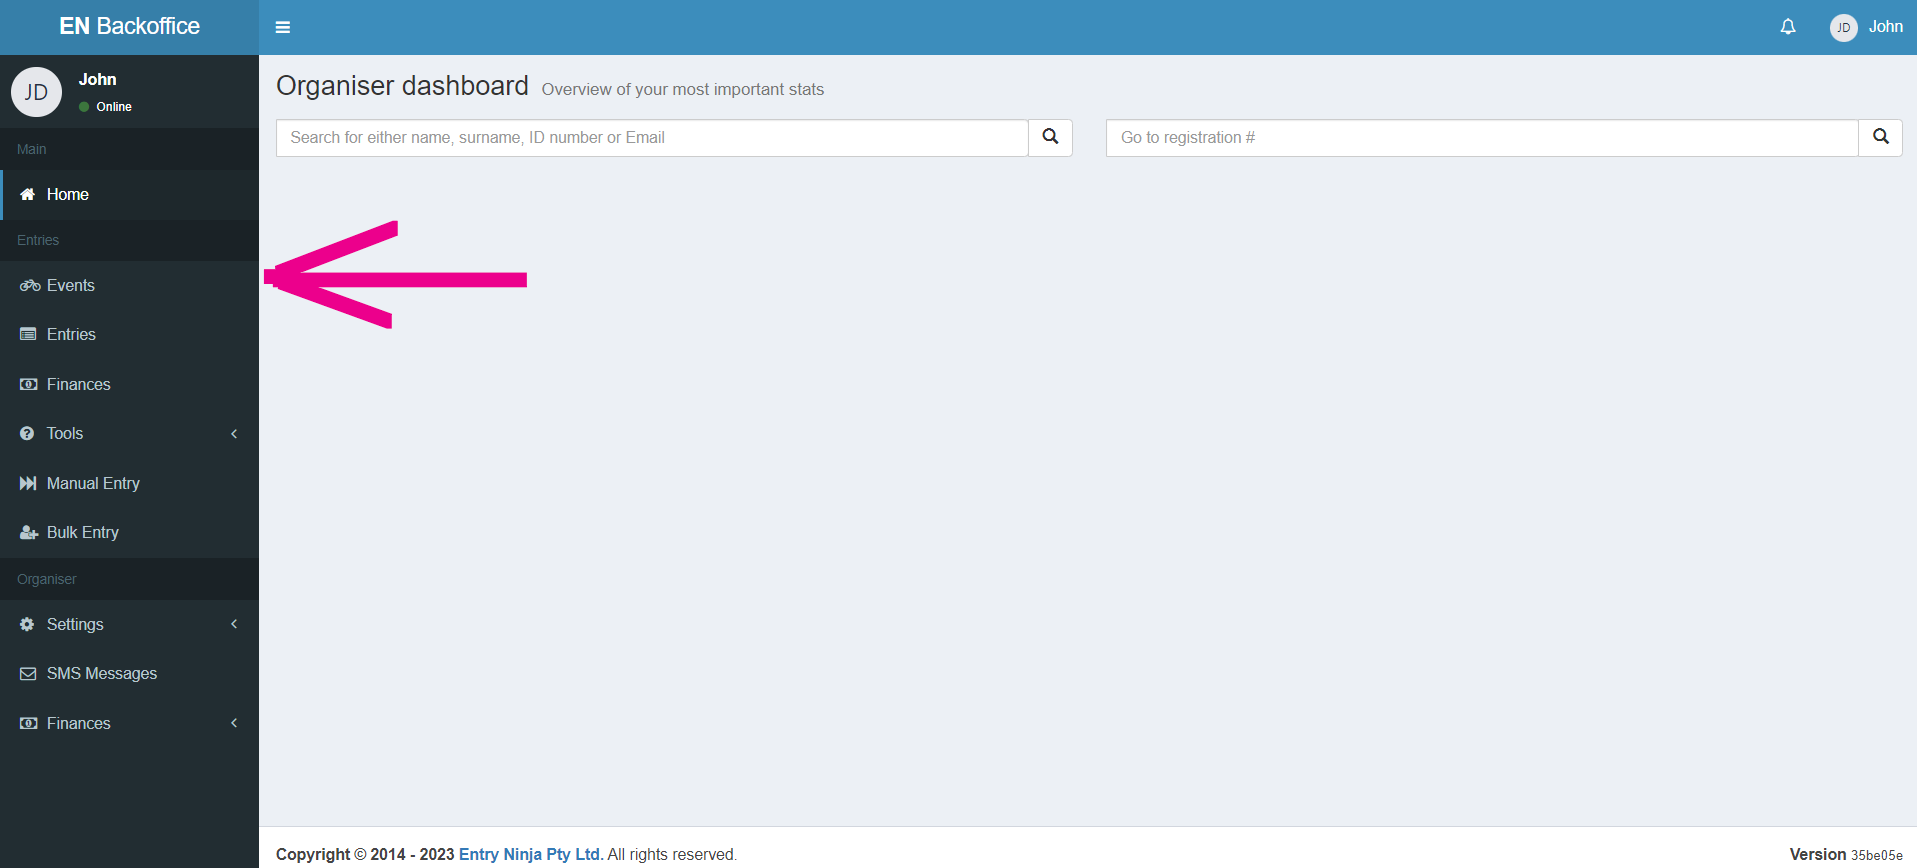
- Navigate to the left-hand menu and click on "Events" to access the "Entry Events Overview" page.
2. Initiate Event Creation:
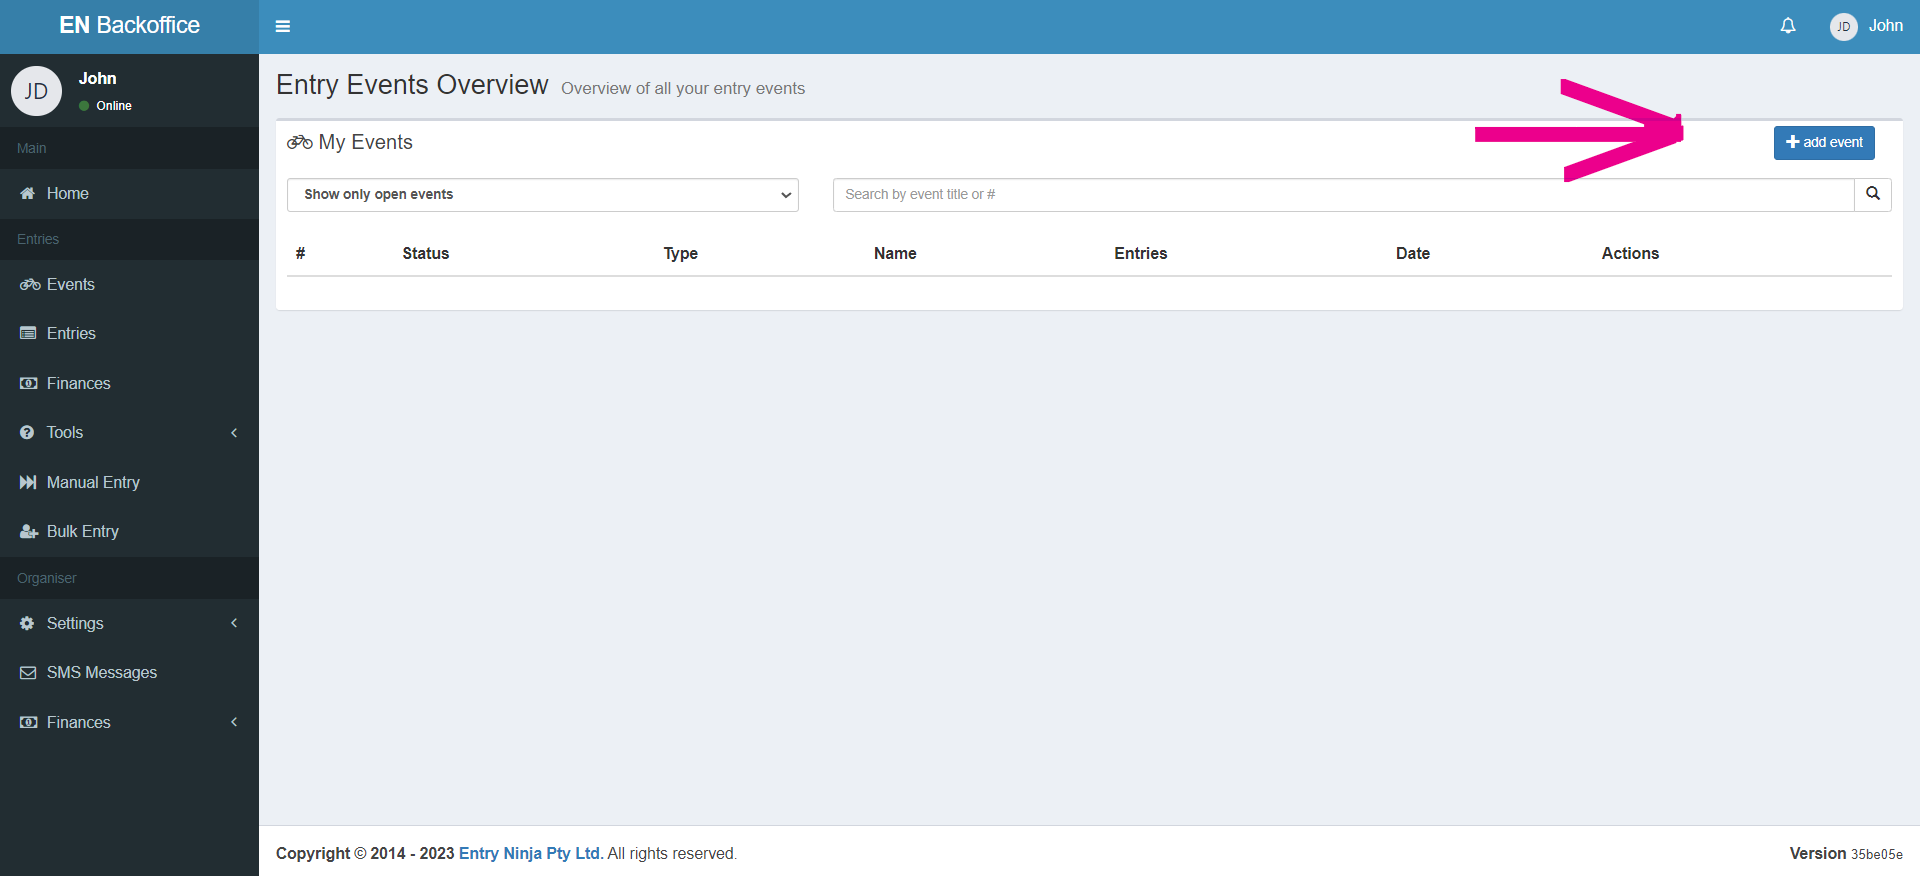
- On the "Entry Events Overview" page, click the "Add Event" button to begin the event creation process.
3. Quick Settings:
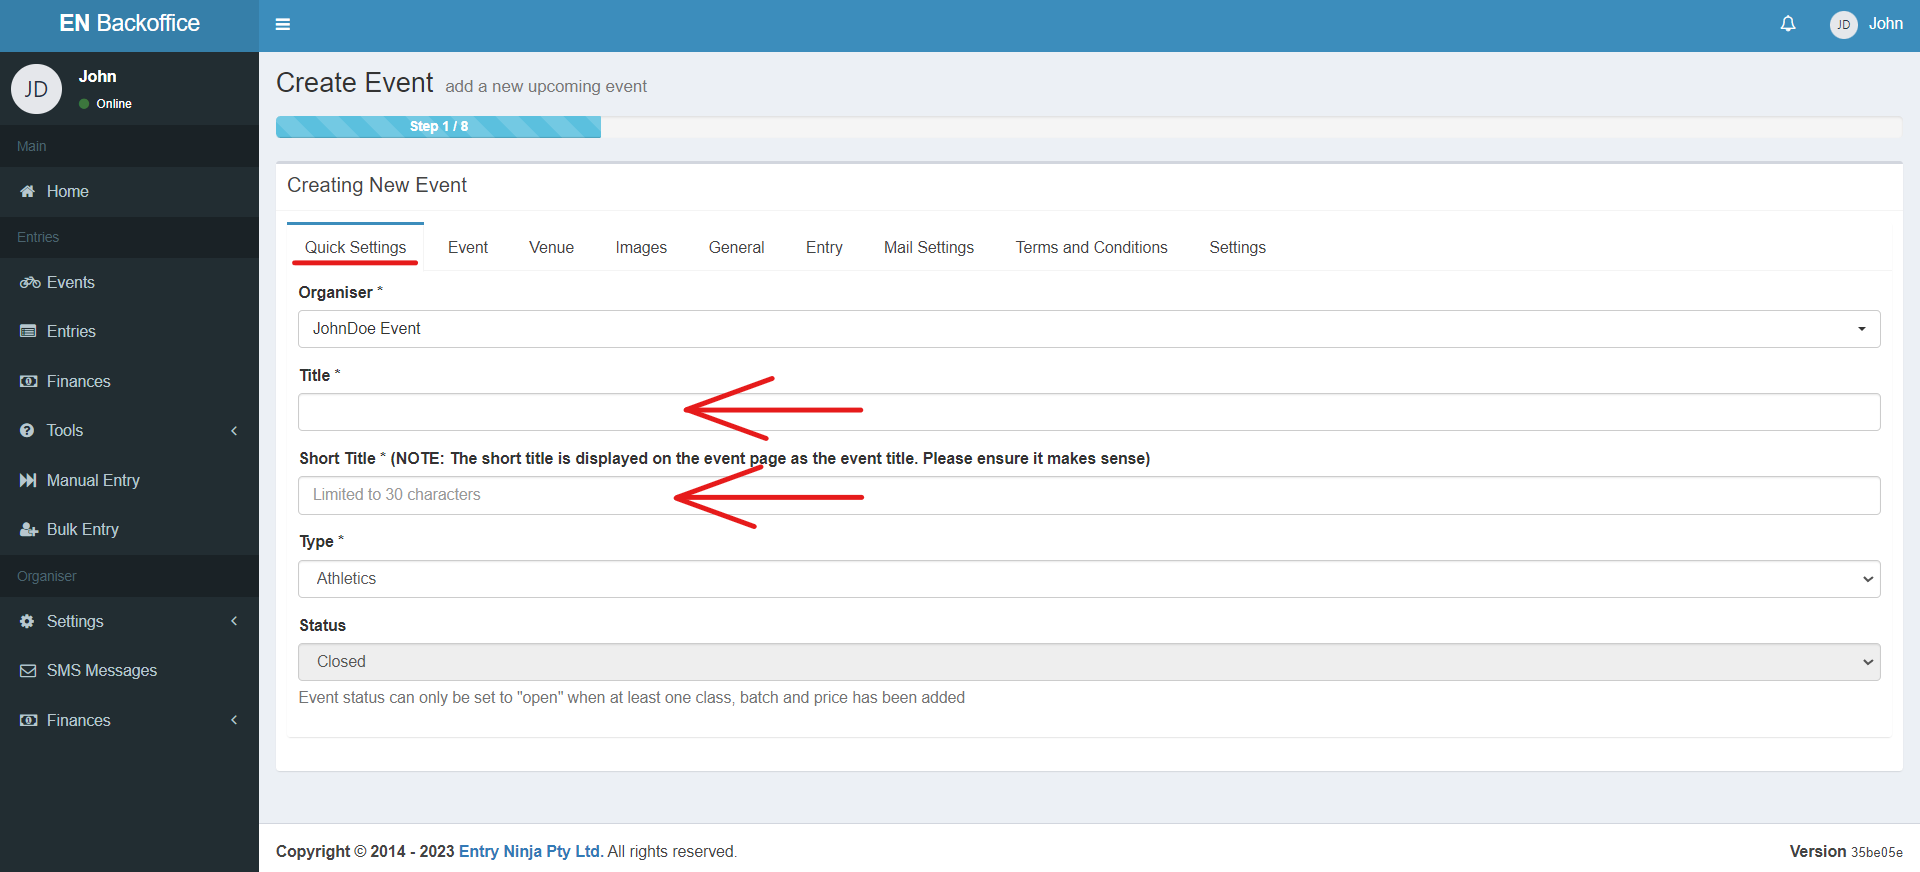
- On the "Create Event" page, start with the "Quick Settings" tab.
- Provide the event title and a concise short title.
4. Event Details:
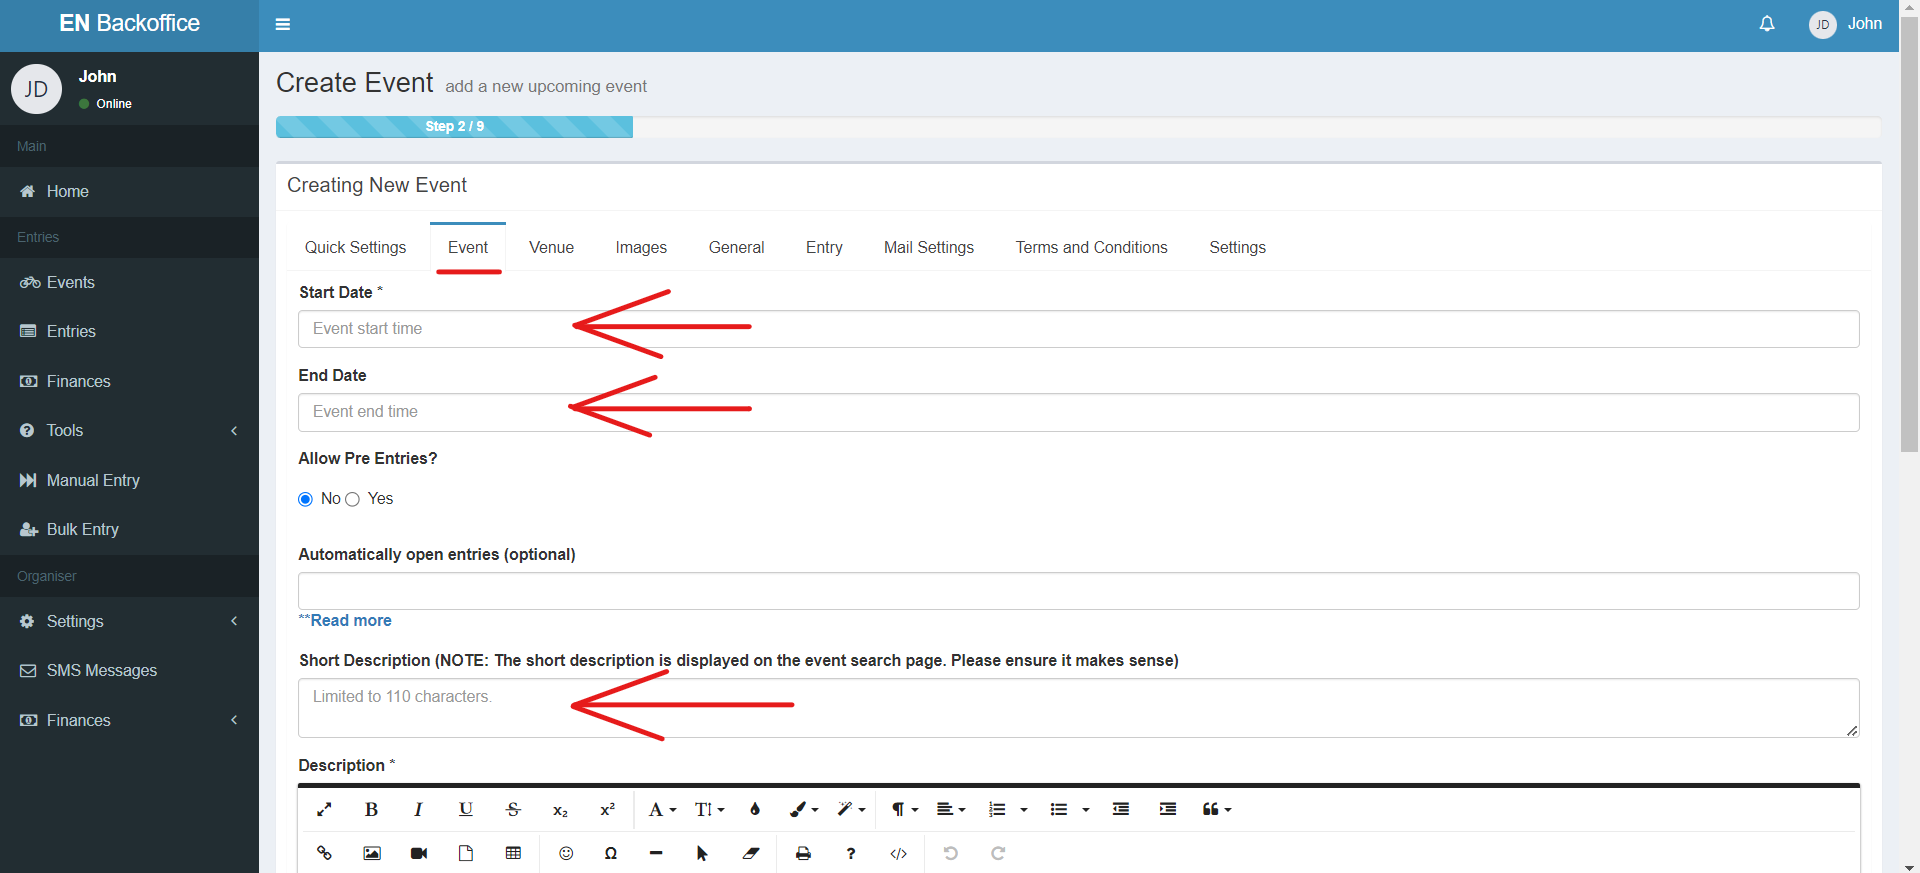
- Move to the "Event" tab to input the event start and end dates.
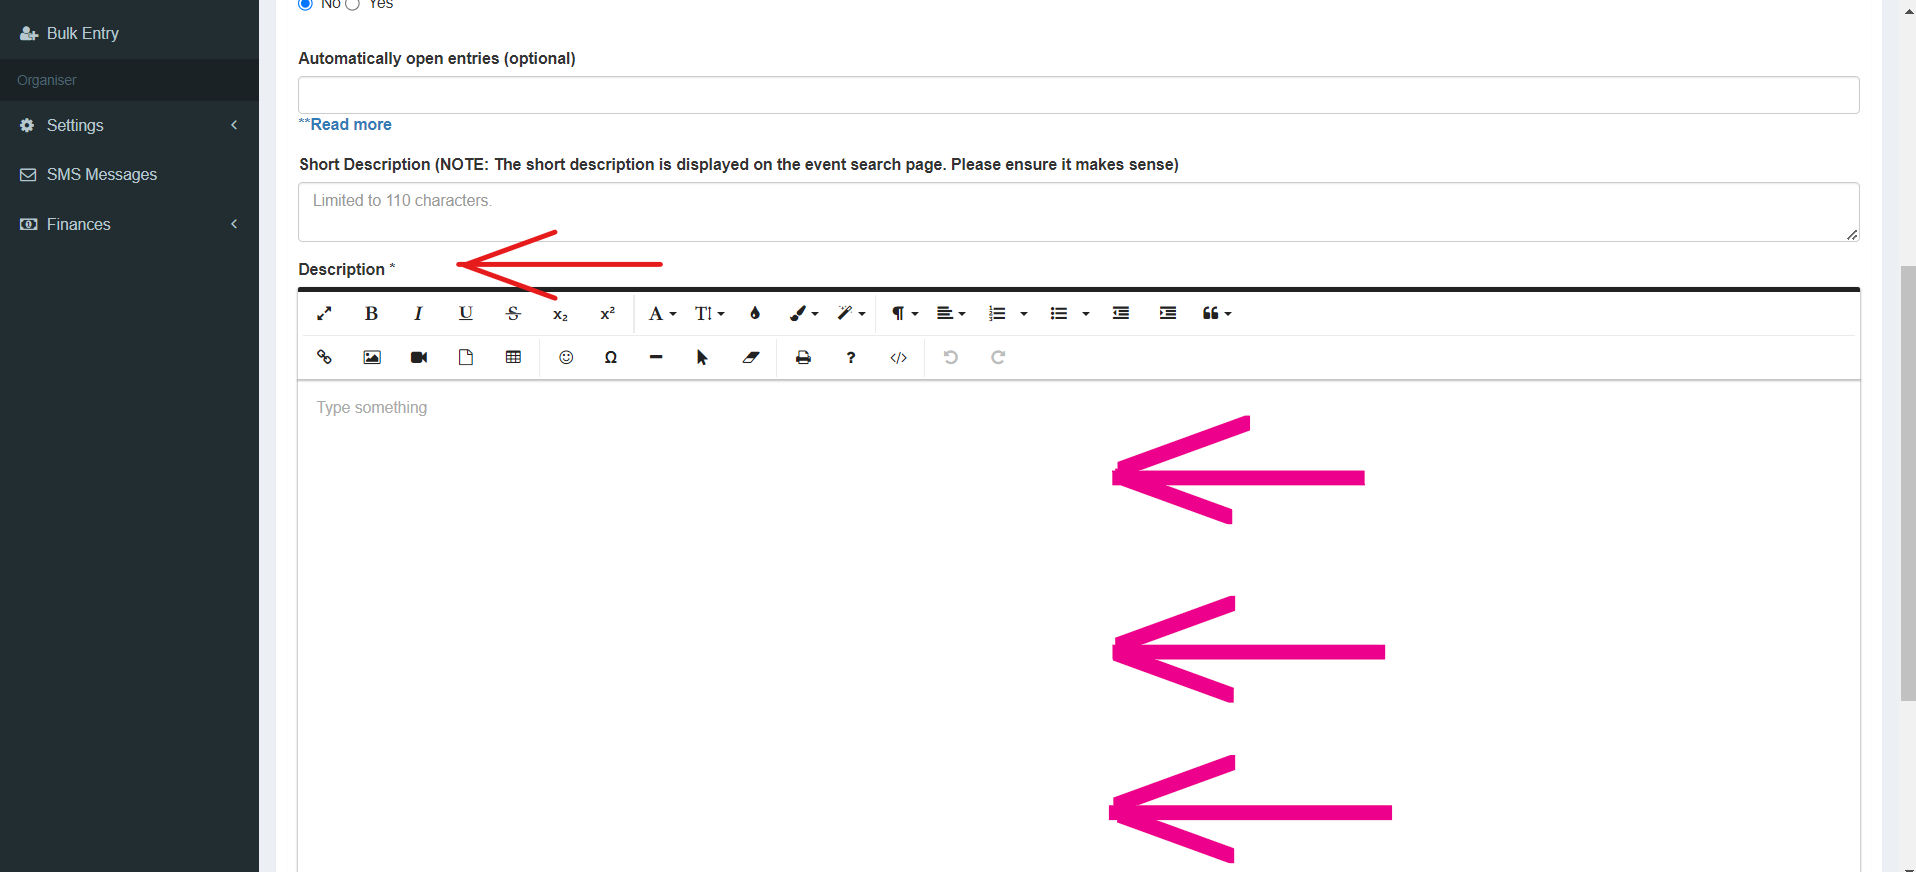
- Add a brief event description and a comprehensive full event description.
5. Venue Selection:
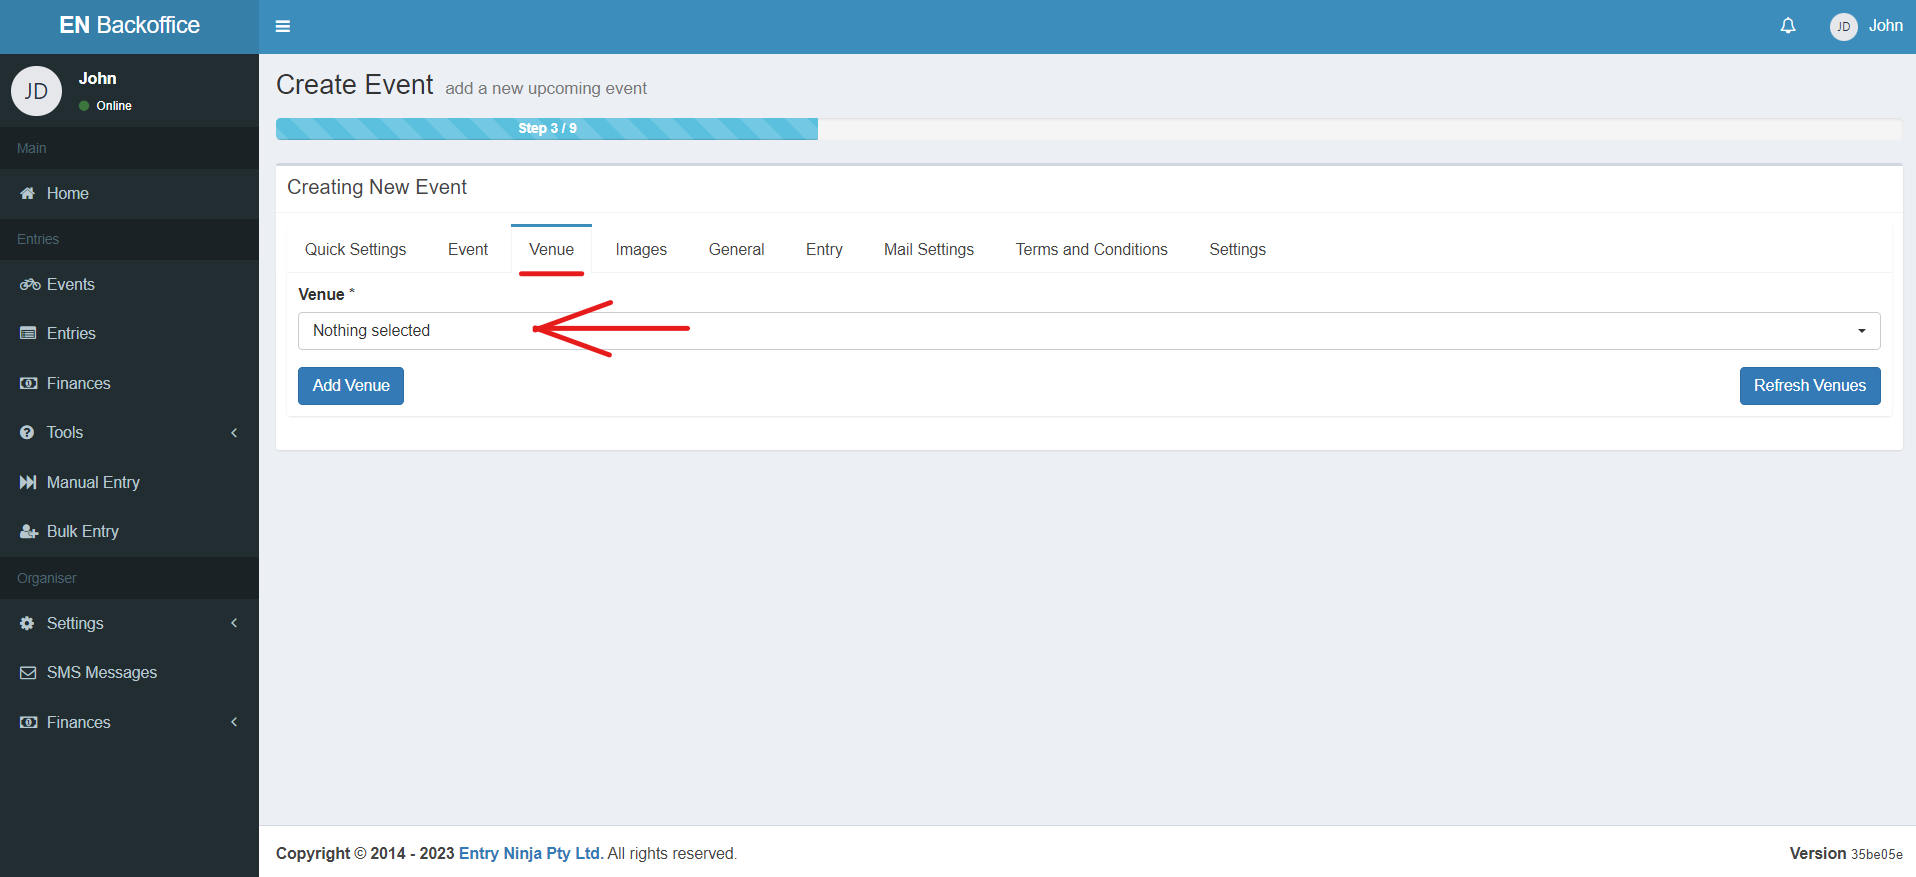
- Proceed to the "Venue" tab.
- Select a pre-created venue for your event (create a venue as instructed in the "How to Create a Venue" KB if needed).
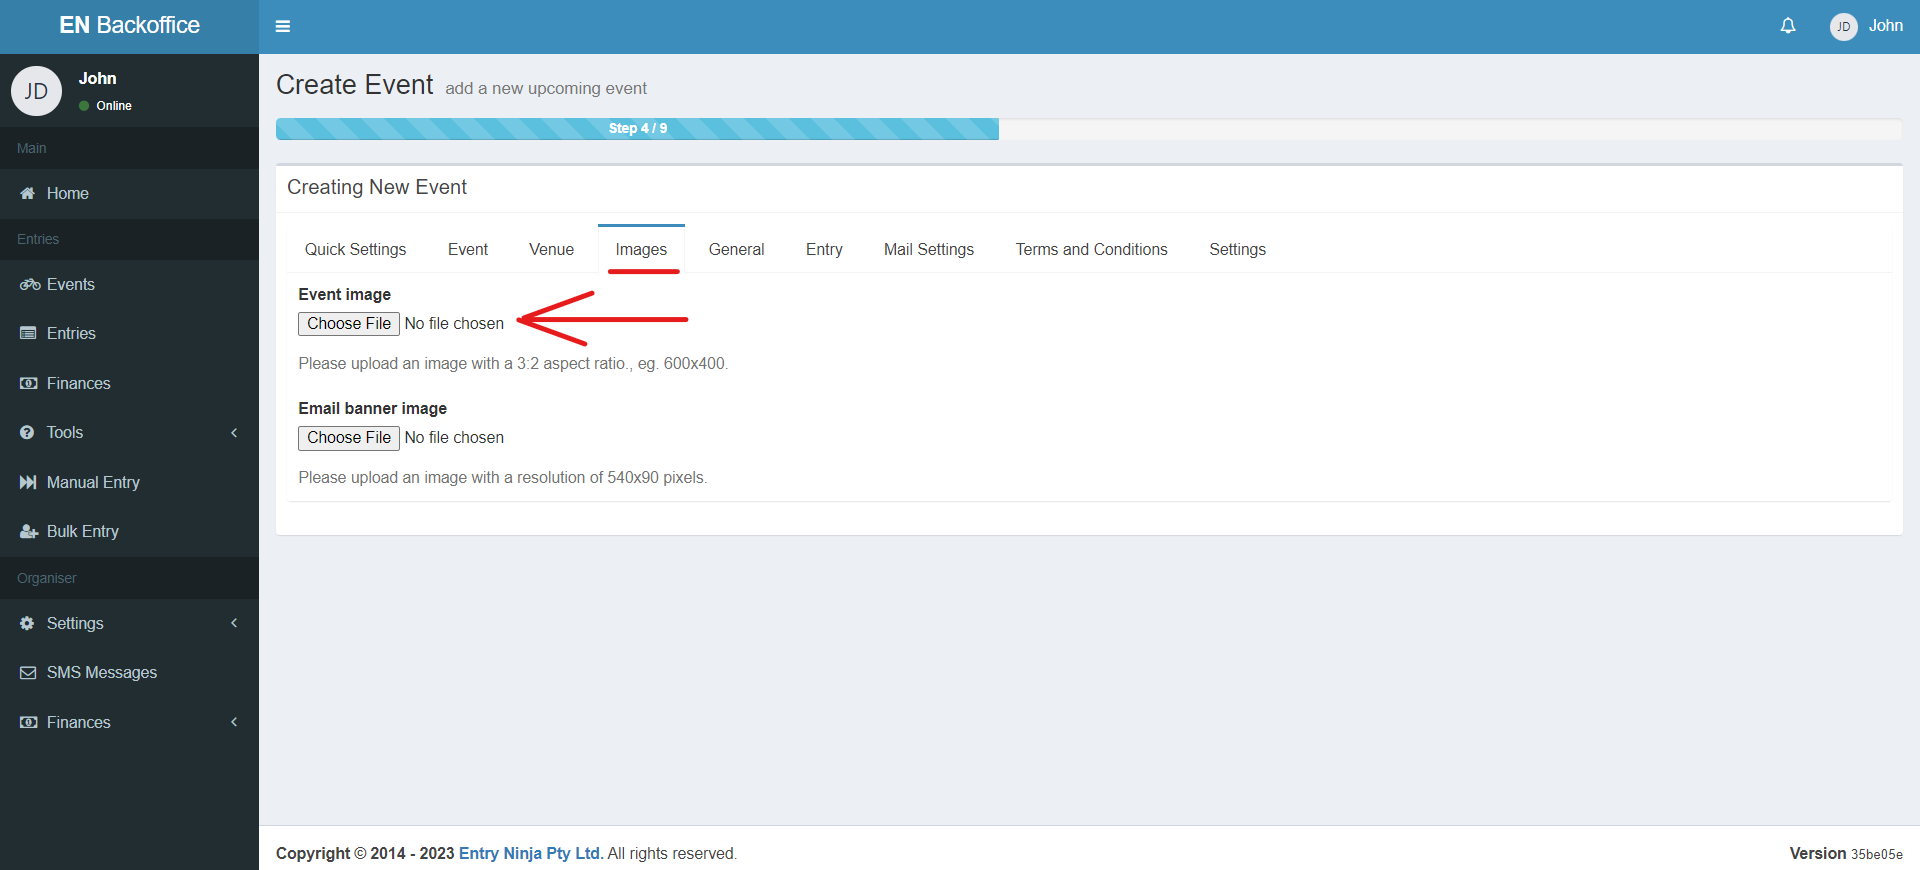
6. Event Image:
- Navigate to the "Images" tab.
- Upload a visually appealing event image that represents your event.
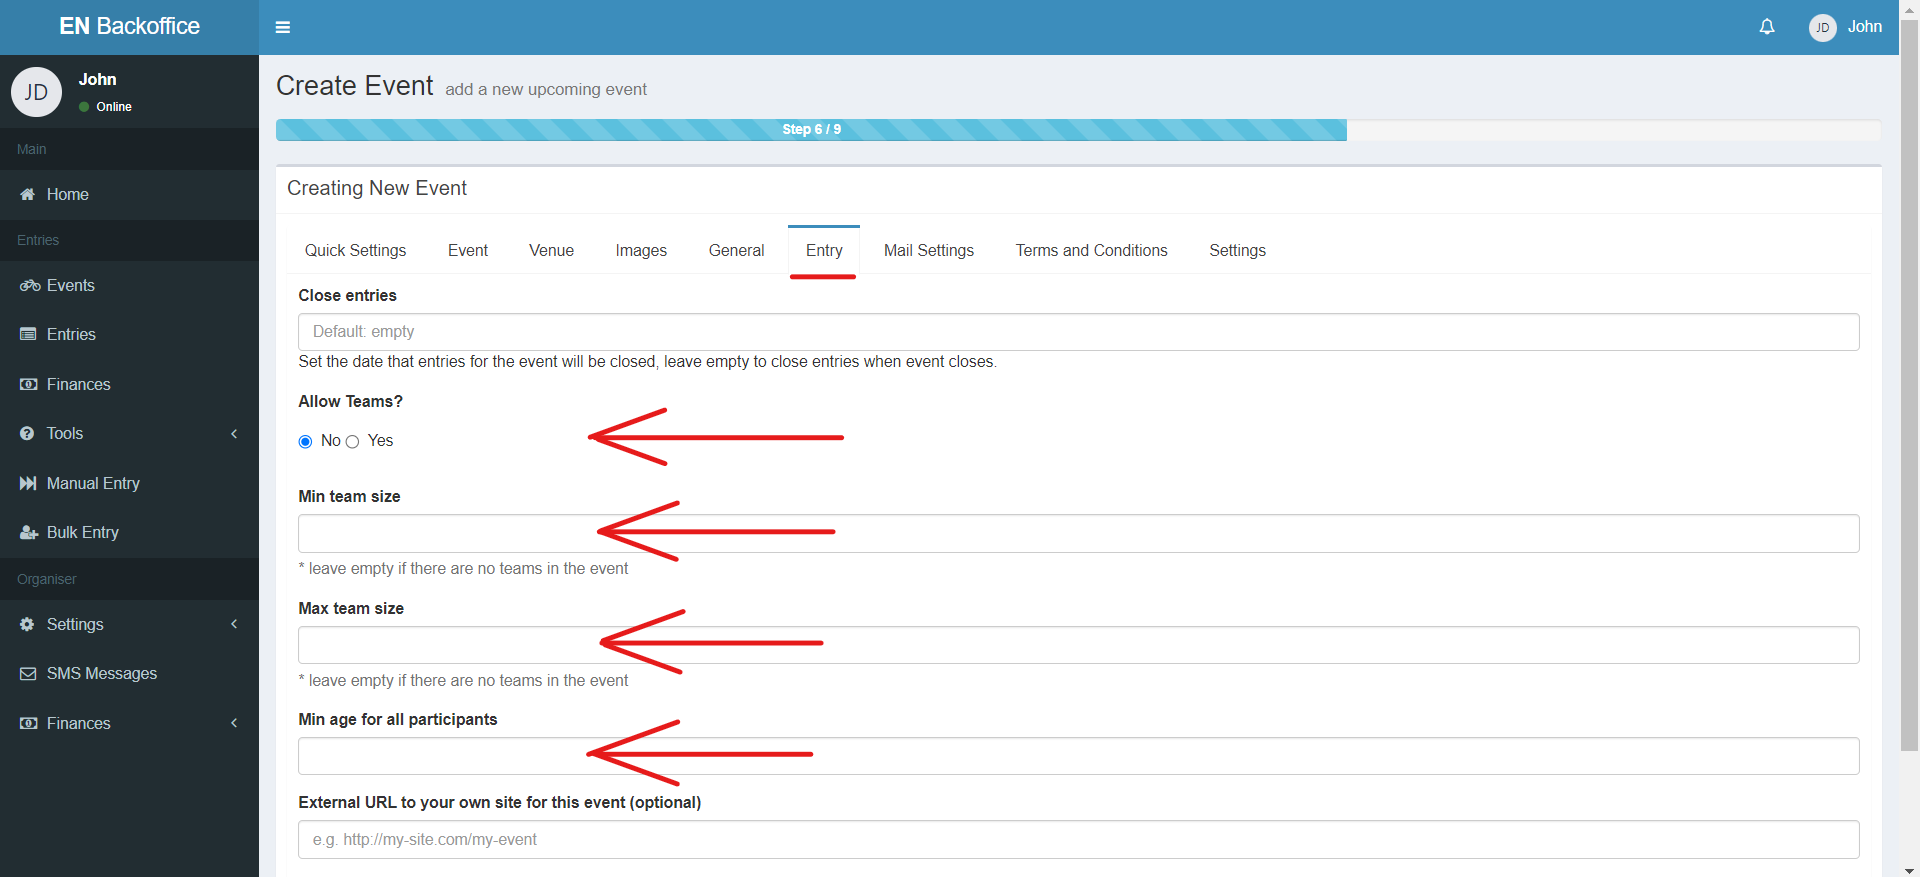
7. Entry Settings:
- Access the "Entry" tab.
- Enable or disable the option for teams in your event.
- Specify minimum and maximum team sizes if applicable.
- Add a minimum age restriction if needed.
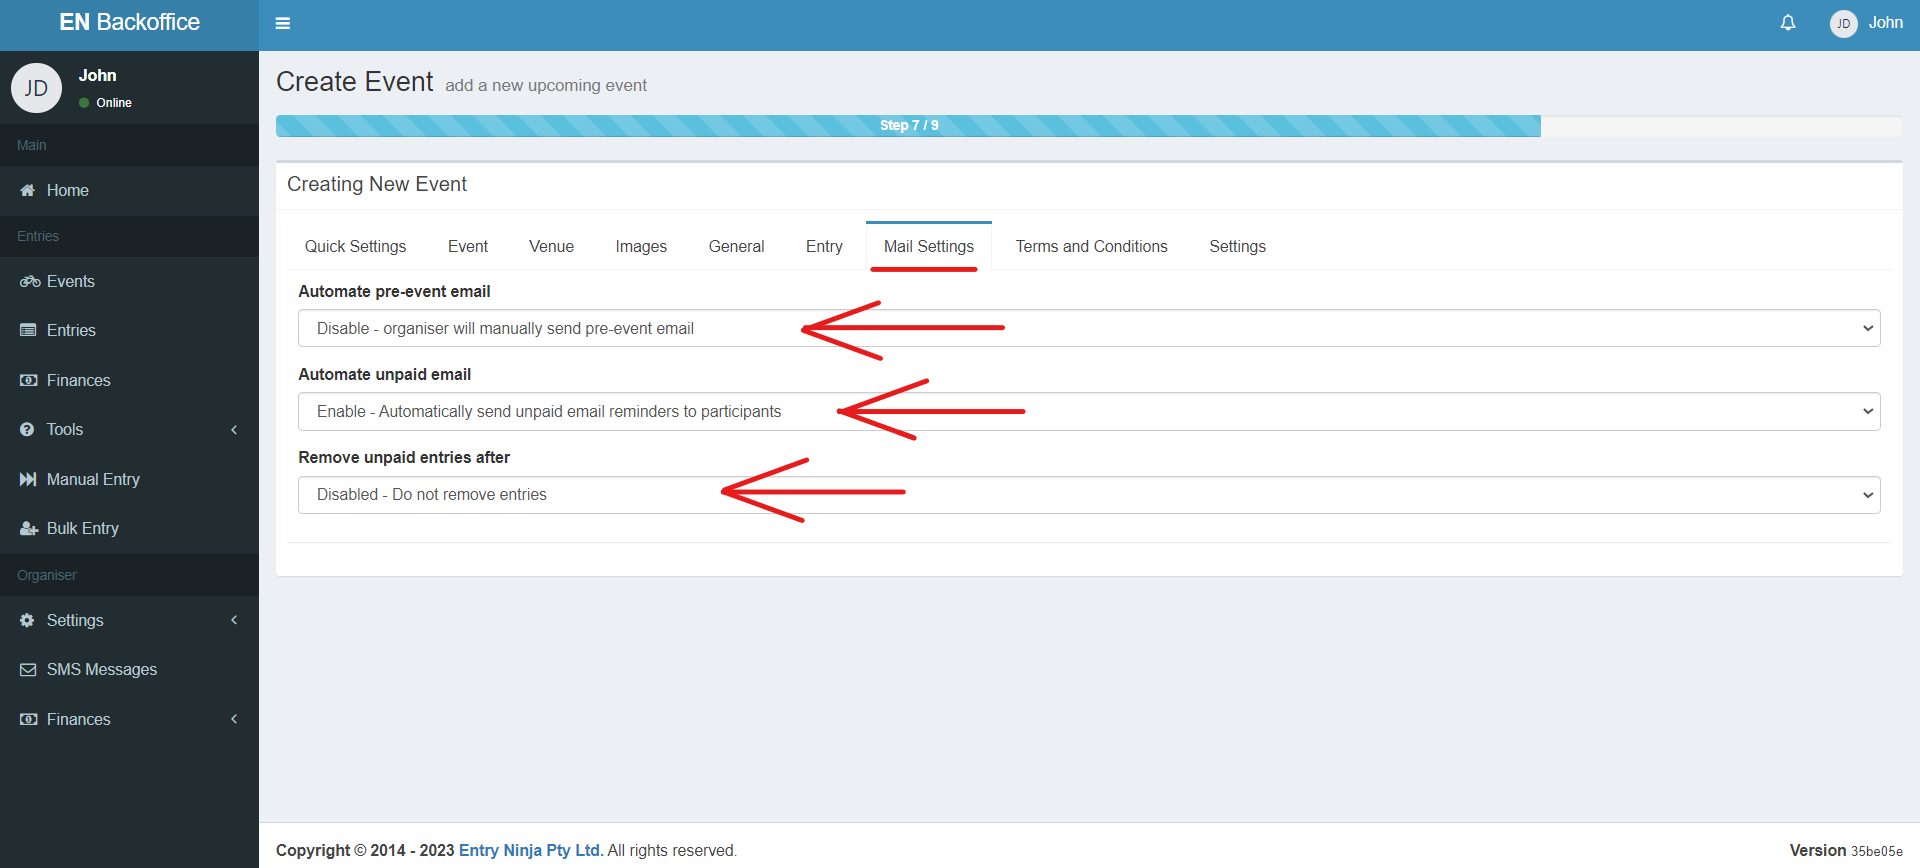
8. Mail Settings:
- Move to the "Mail Settings" tab.
- Update your mail settings preferences as desired.
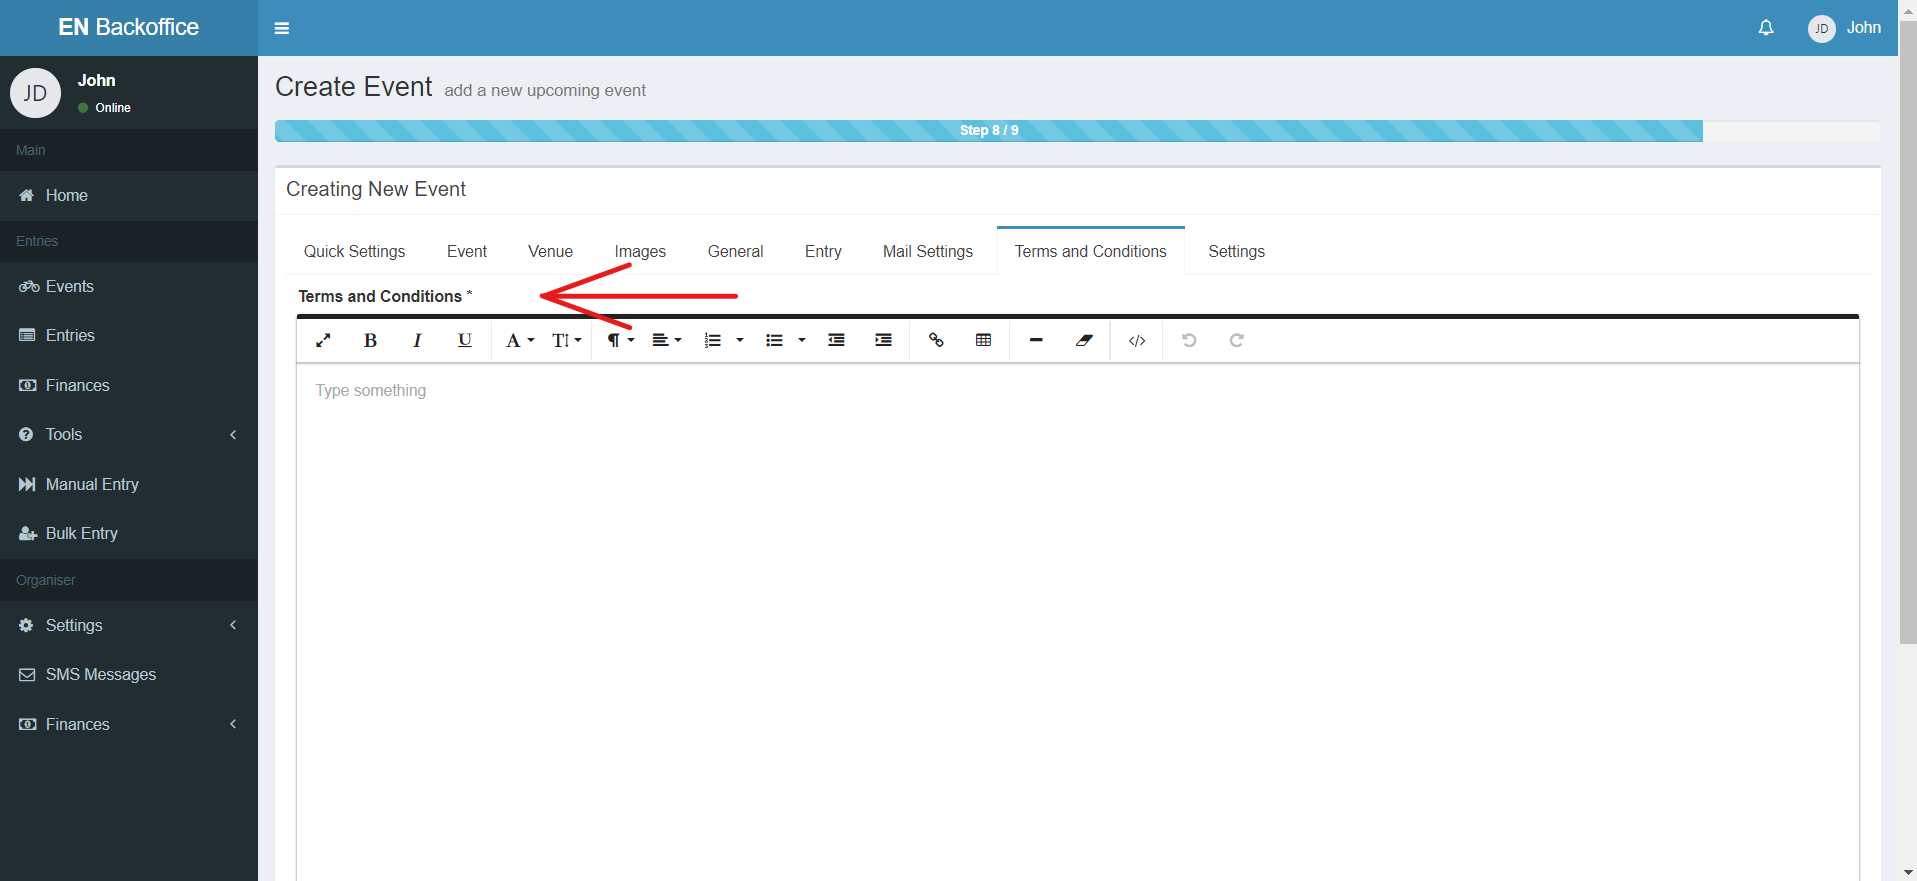
9. Terms and Conditions:
- Proceed to the "Terms and Conditions" tab.
- Customize event-specific terms if applicable, or leave it blank to use default terms provided by Entry Ninja.
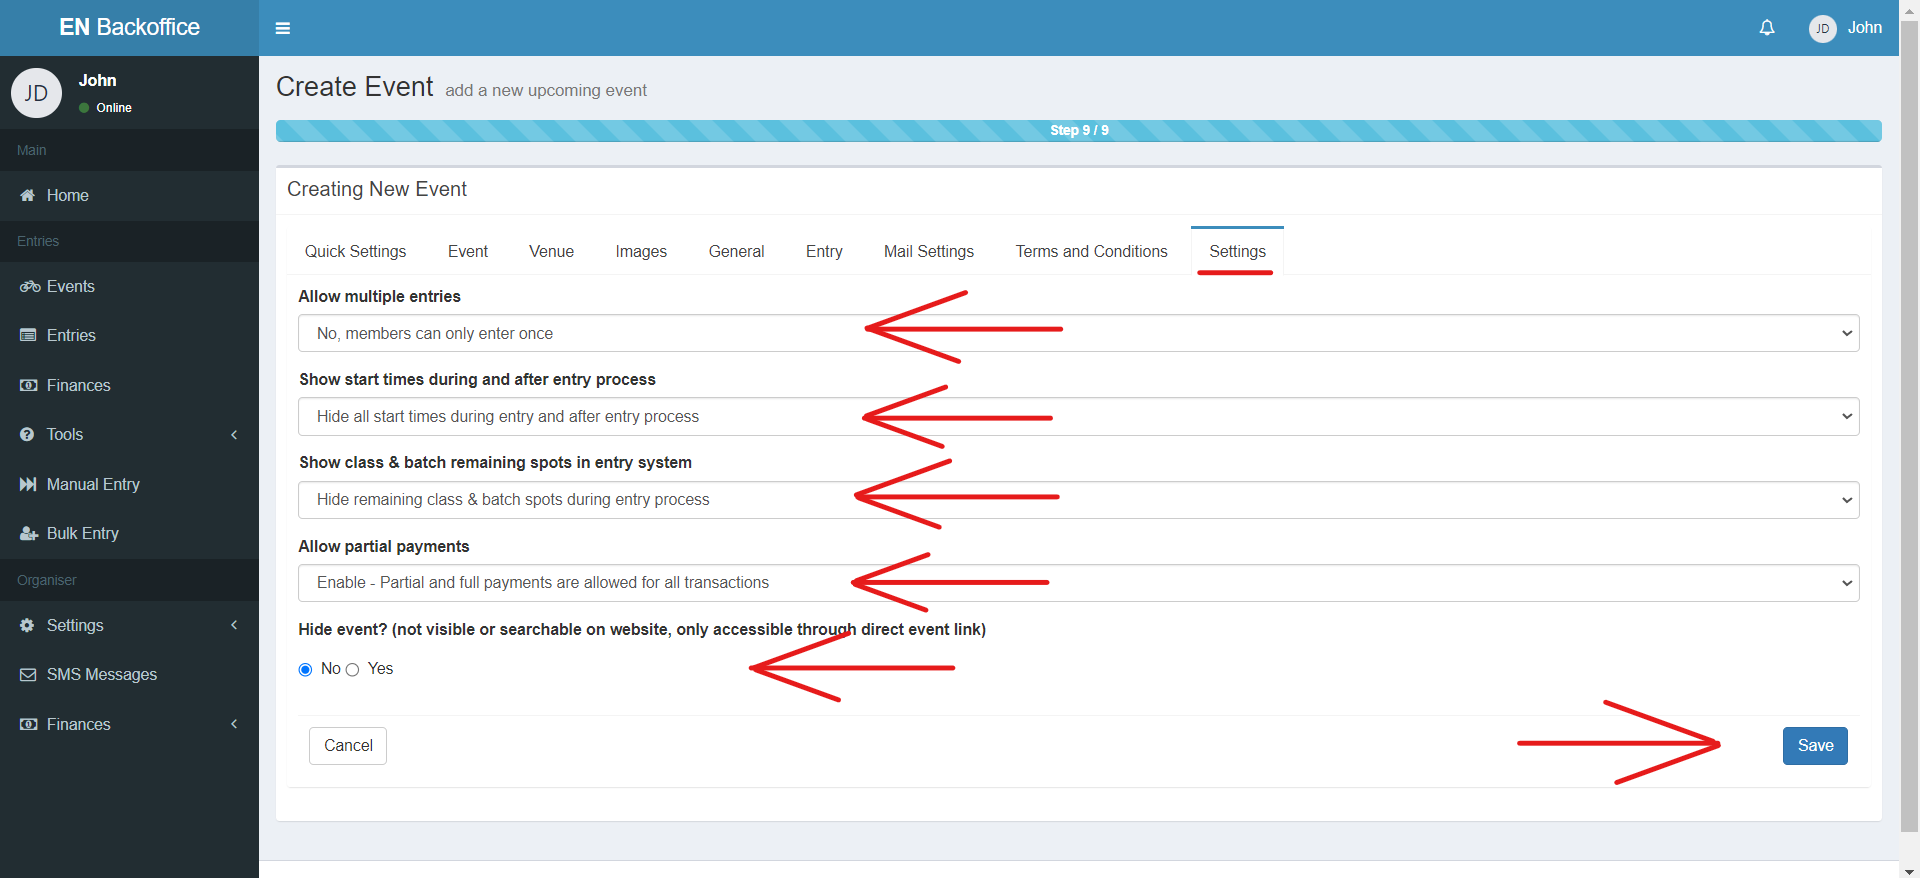
10. Event Settings:
- Finally, access the "Settings" tab.
- Enable or disable event-specific settings as needed.
11. Save Your Event:
- Once you have reviewed and updated all relevant tabs, click the "Save" button to finalize and save your newly created event.
You're halfway there! Please click here for the next step on How to set up classes, batches, and pricing for your event.

