Managing event classes, batches, and pricing is a crucial aspect of organizing a successful trail run or MTB event on Entry Ninja. This comprehensive guide will walk you through the process of setting up event classes, batches, and pricing for your event.
Step 1: Accessing Event Class and Pricing Setup
1. After creating your event and accessing the event details page, scroll down to the "Classes, Batches, and Prices" section.
Step 2: Adding and Editing Classes, Batches, and Pricing
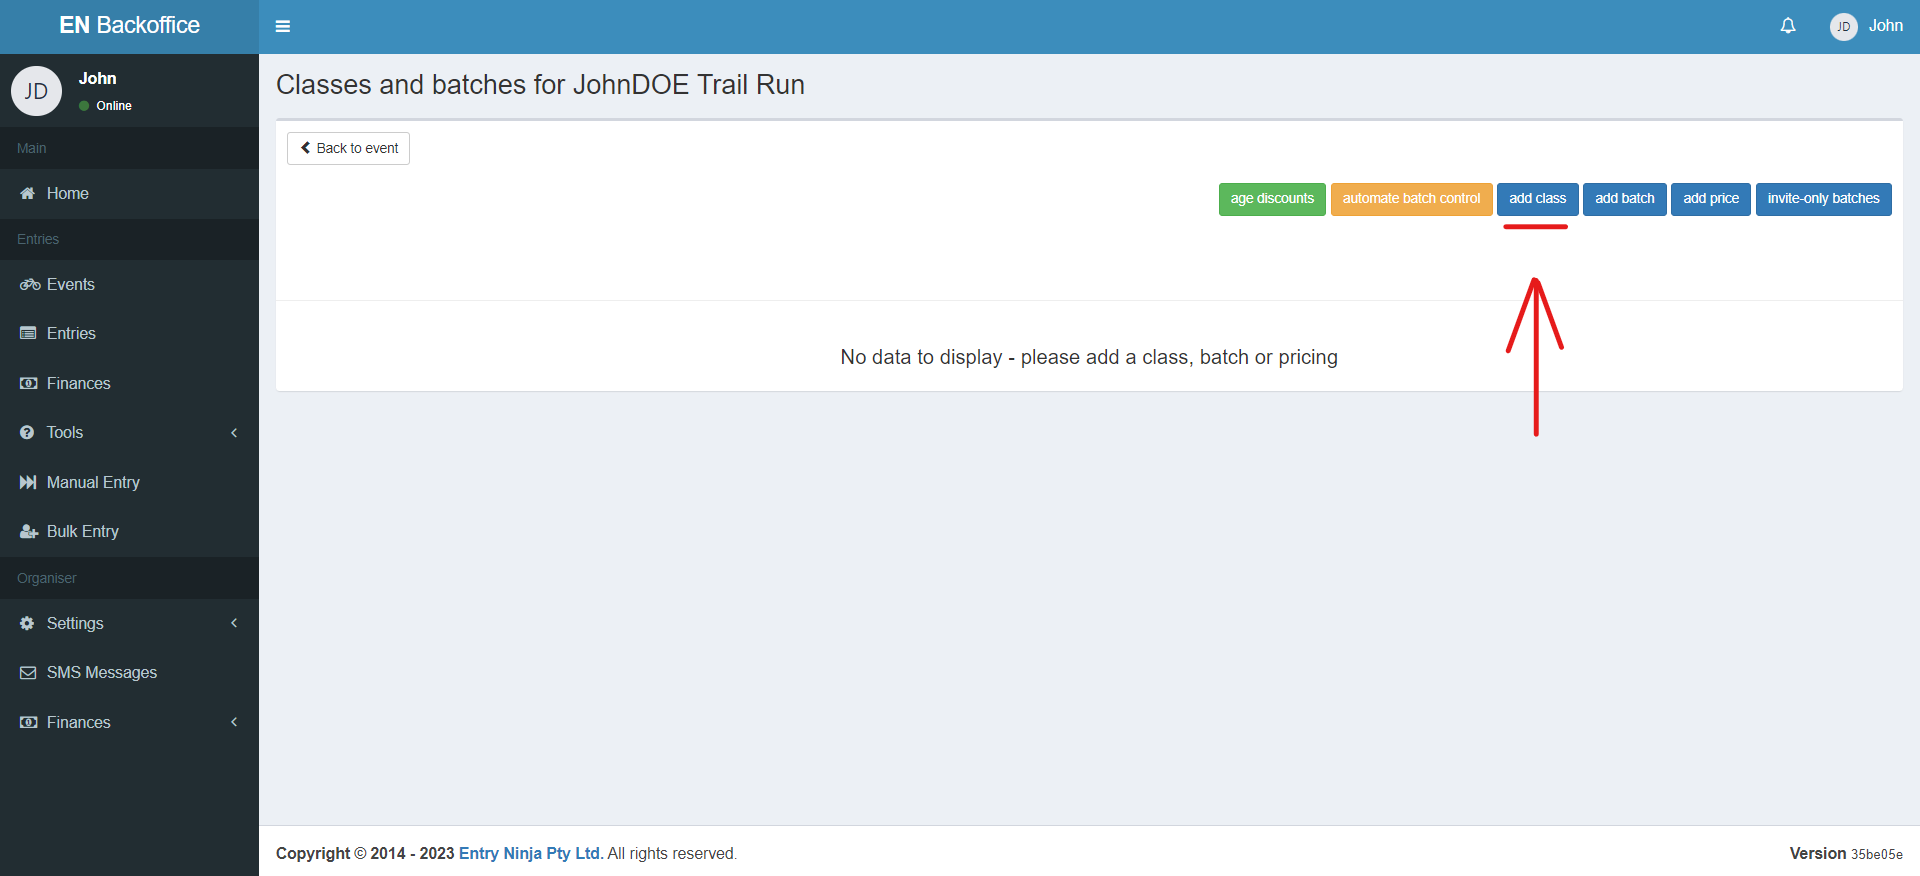
1. Click the "Add Class" button to initiate the setup process. This feature allows you to define distances, teams, batches, and pricing from a single view.
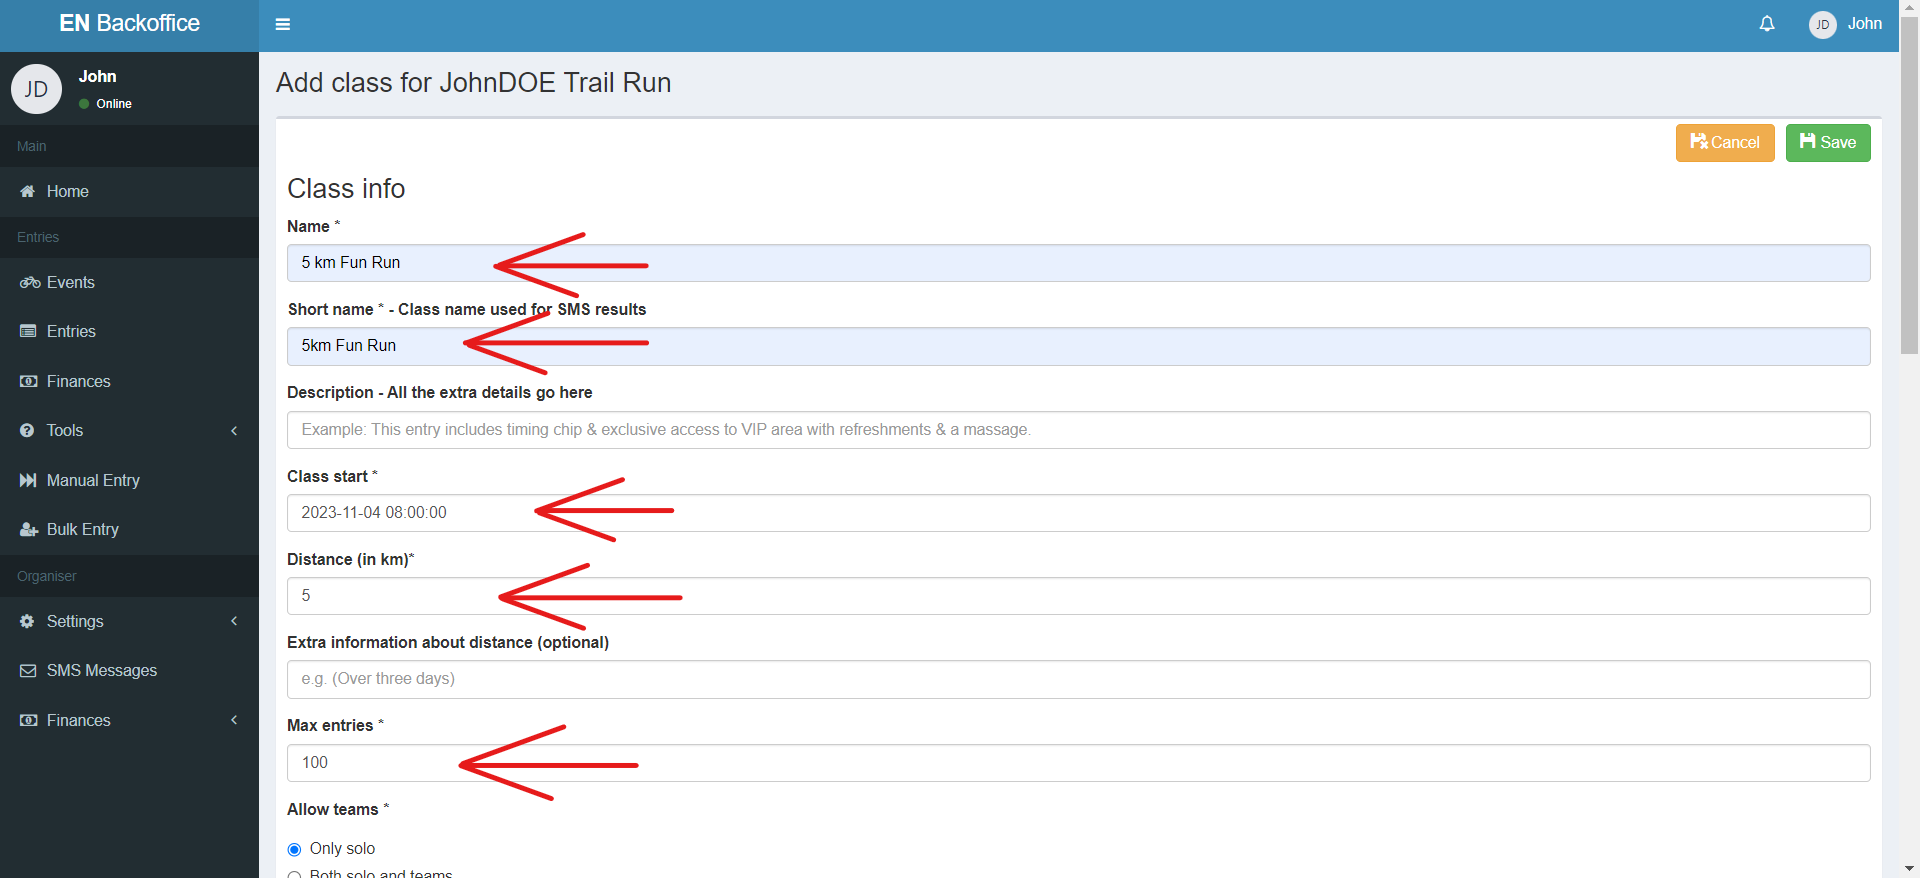
2. Fill in the required fields denoted by asterisks (*). These fields include distance details, team options, and maximum entries.
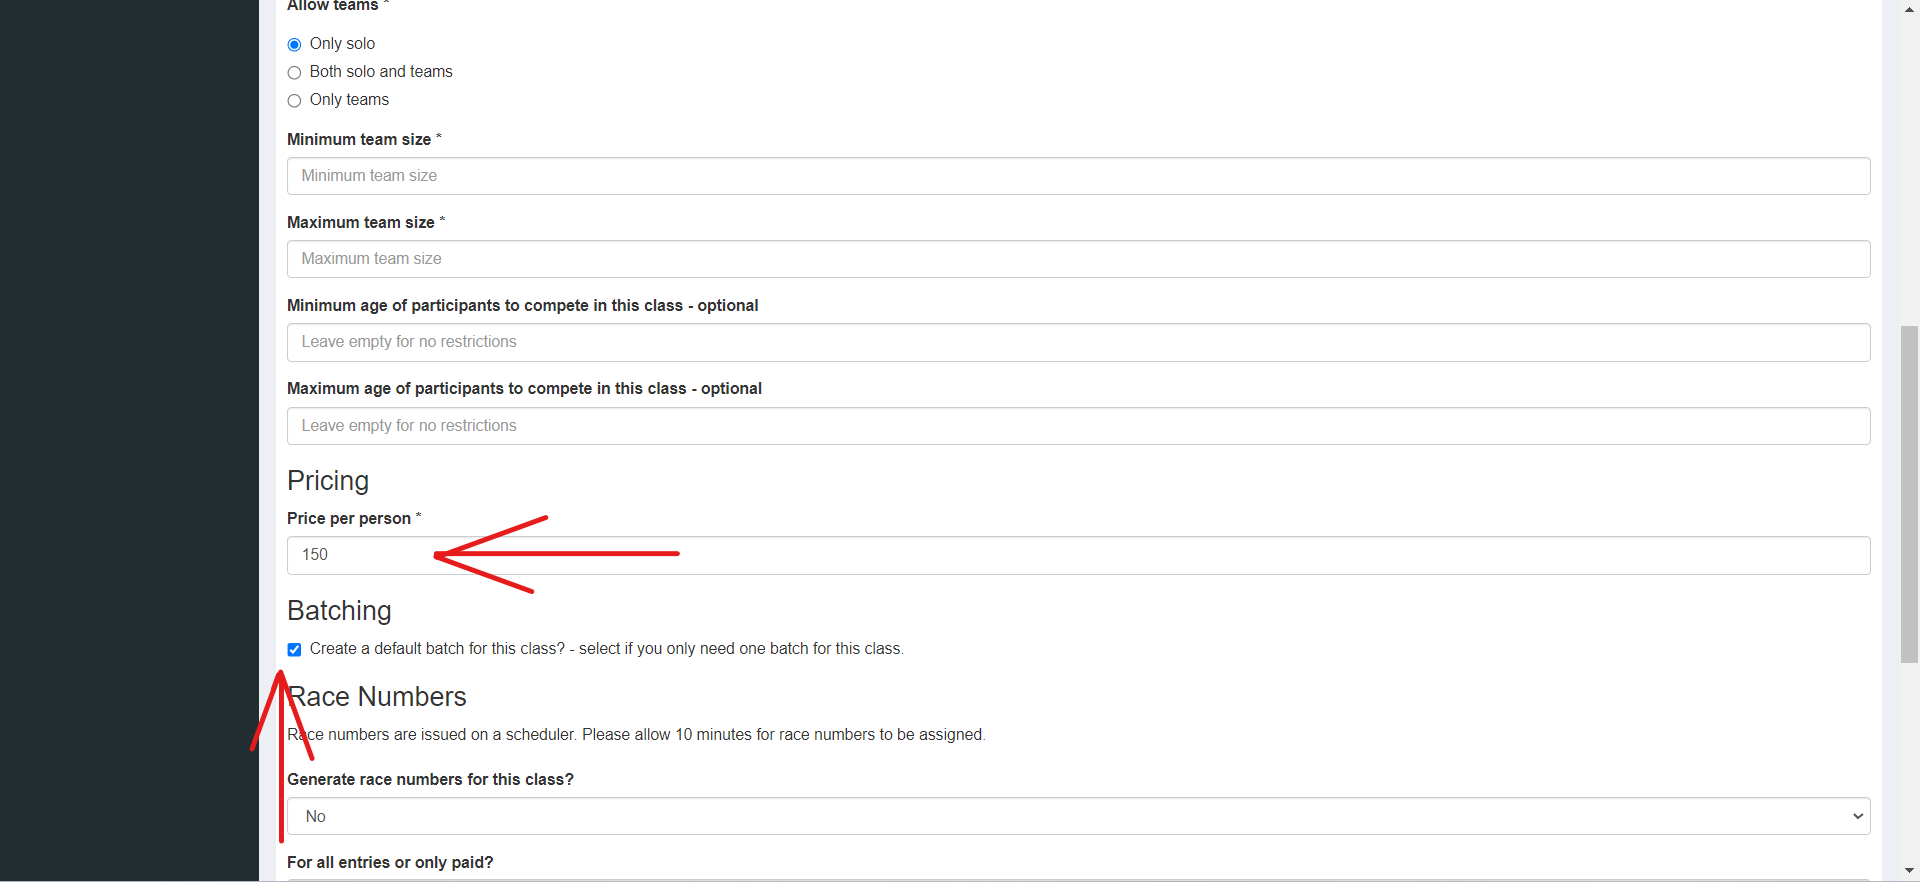
3. Use the "Age Restrictions" and "Team Restrictions" options to customize entry criteria for participants.
4. Pricing can also be set up while adding a class for the first time. The price will be per person.
5. Set up race numbering for the class, which will be automatic and integrated into your combined report. You can use various suffixes and prefixes for customization, such as for team identification.
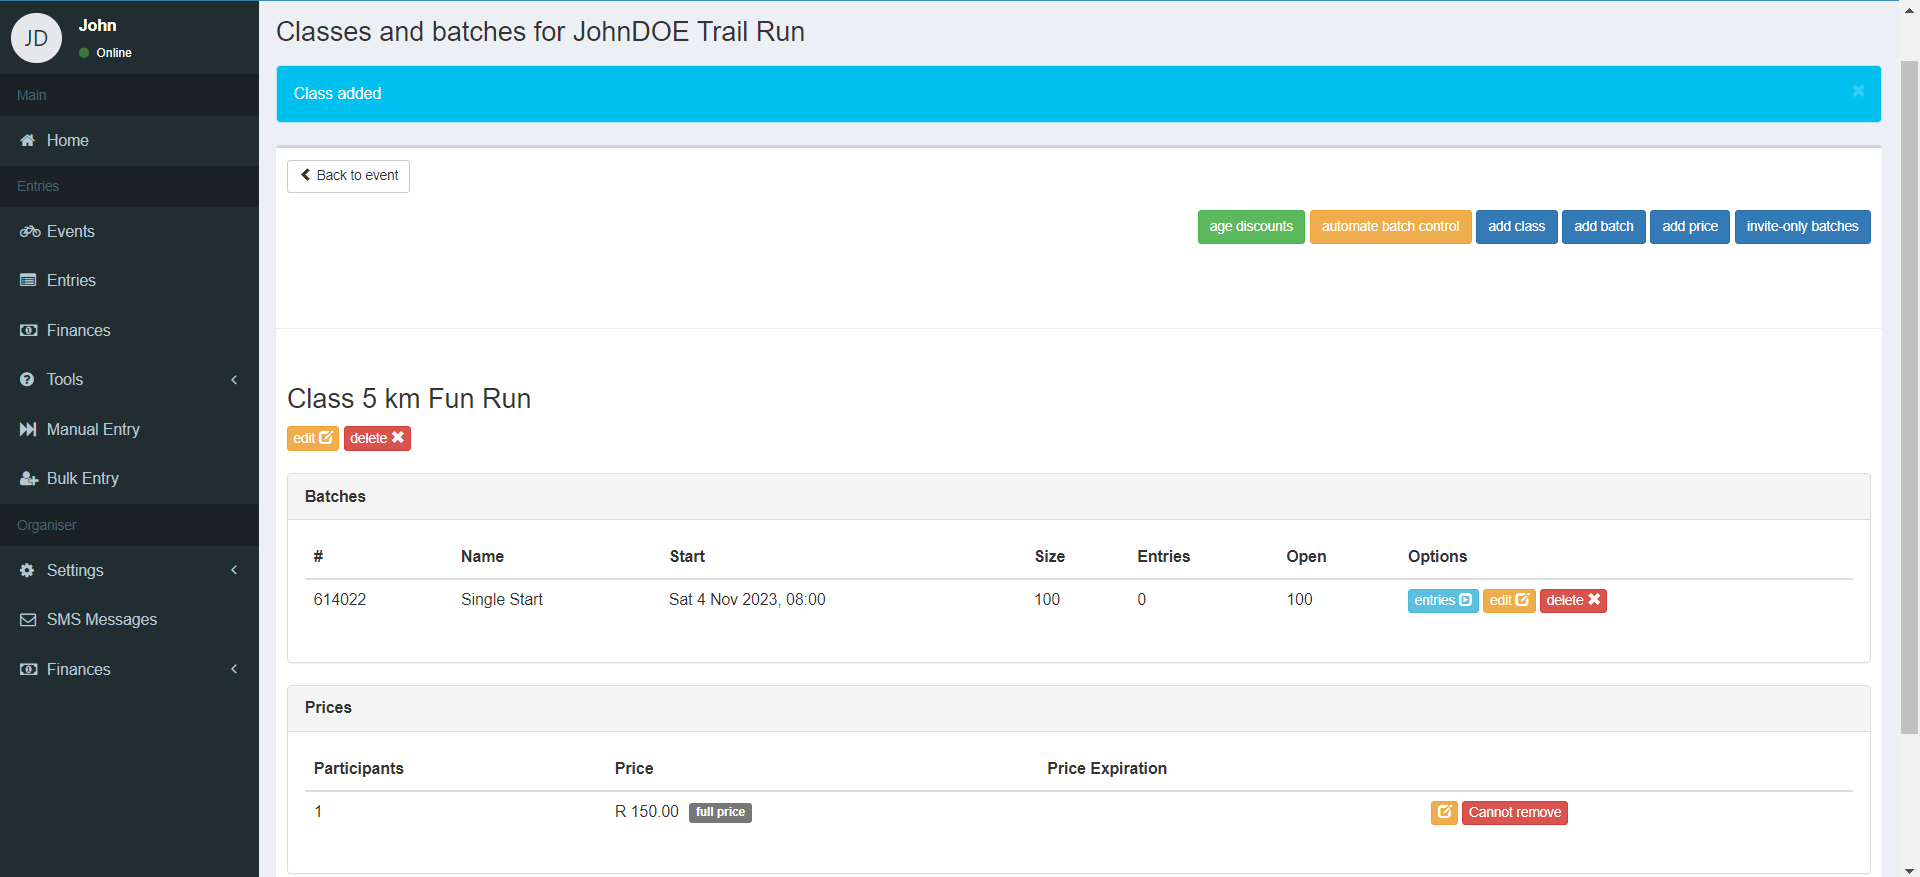
6. Click "Save" to add the class to your event.


